Storyline 3: Creating & Renaming Custom Text Styles
Article Last Updated
This article applies to:
Text styles are valuable for authors and learners alike. Text styles help authors achieve a consistent design throughout a project, and they make the published course more accessible, giving screen reader users an equivalent experience to that of sighted users.
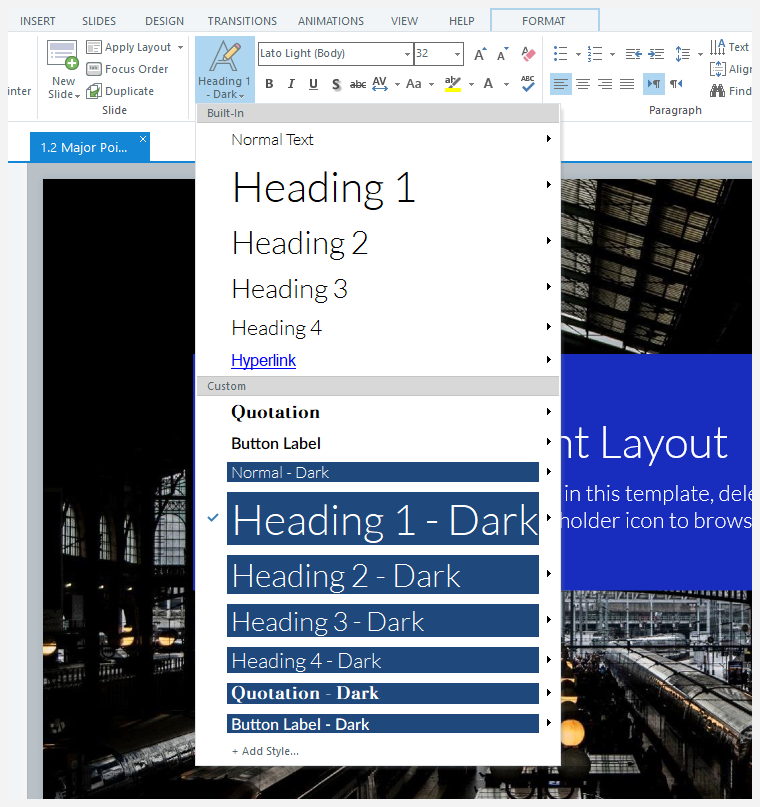
Starting with the April 2021 update for Storyline 3, you can create as many custom styles as you want and rename them so they’re easy to identify as your list of styles grows. Create custom styles for every text element, such as blockquotes, button labels, image captions, and speech bubbles. You can even create light and dark versions of styles for different backgrounds in a course, as shown below.

The text styles menu has several built-in styles plus a section for your custom styles.
Creating Custom Text Styles
- Use the font and paragraph properties to format text on a slide the way you want it to appear, then place your cursor in the formatted text.
- Go to the Home tab on the ribbon, click Text Styles, and select Add Style at the bottom of the list.
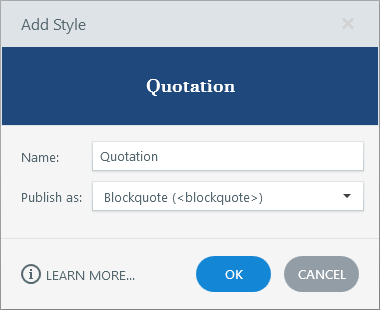
- Enter a Name for your custom style, as shown below.
- Choose how Storyline 3 should identify your custom style to screen readers. You can select Normal Text (
<p>), Heading 1 (<h1>), Heading 2 (<h2>), Heading 3 (<h3>), Heading 4 (<h4>), or Blockquote (<blockquote>) from the Publish as drop-down list. (Learn more about accessible text styles.) - Click OK.

Then apply your custom styles to text elements throughout your project. You can also modify, duplicate, and delete custom styles. Learn more about working with text styles.
Renaming Custom Text Styles
- Place your cursor in any text box on the slide.
- Go to the Home tab on the ribbon, click Text Styles, scroll to the style you want to rename, and click Modify from the sub-menu that appears.
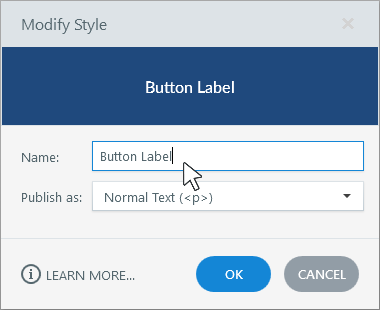
- Enter a new Name, as shown below.
- Click OK.


